Isopropyl Alcohol (IPA) wipes are widely used for precision cleaning in electronics, optics, and labs—thanks to their ability to dissolve oils, flux, and contaminants. However, improper use can damage surfaces, pose safety risks, or compromise cleaning efficacy. Below are strict operational standards to ensure safe, effective use, paired with critical precautions to mitigate hazards and protect sensitive materials.
1. Operational Standards: Step-by-Step Best Practices
Follow this standardized workflow to maximize cleaning results while maintaining safety:
Step 1: Pre-Operation Preparation
- Wipe Selection: Choose IPA wipes matching the task and surface:
- 70% IPA wipes: For disinfection and oil-based residue removal (e.g., fingerprints on lenses, skin oils on PCBs).
- 99% IPA wipes: For flux removal, solvent-compatible surfaces (e.g., semiconductor wafers), and residue-free cleaning.
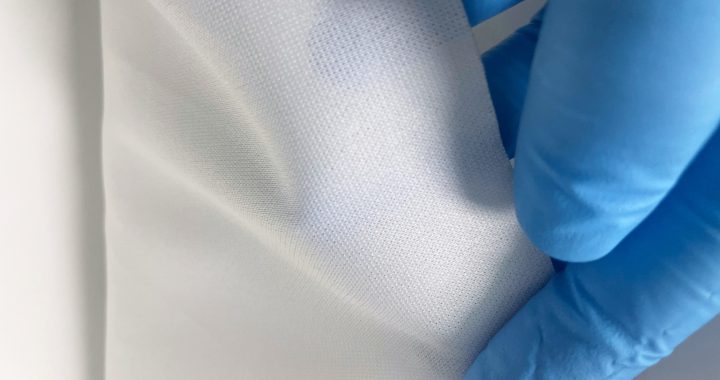
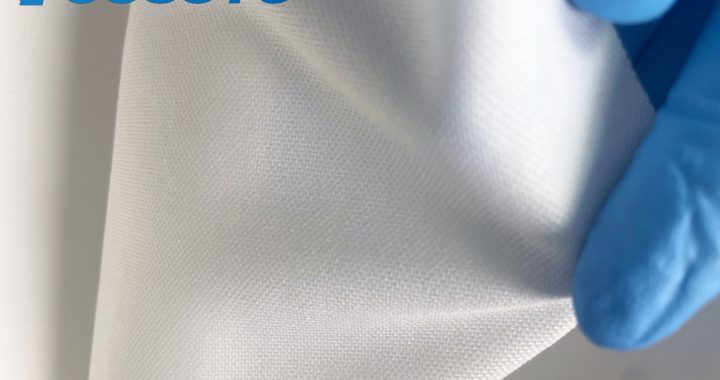
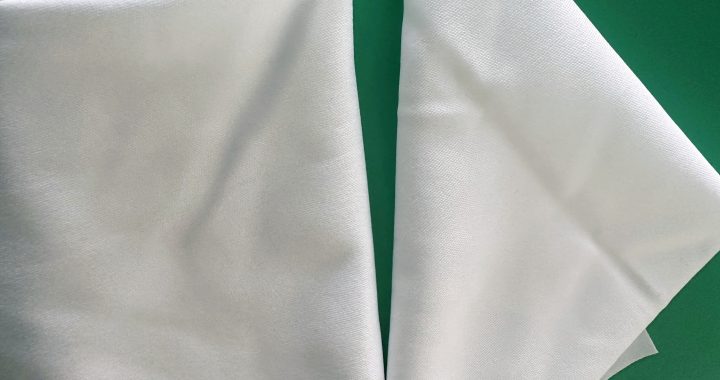
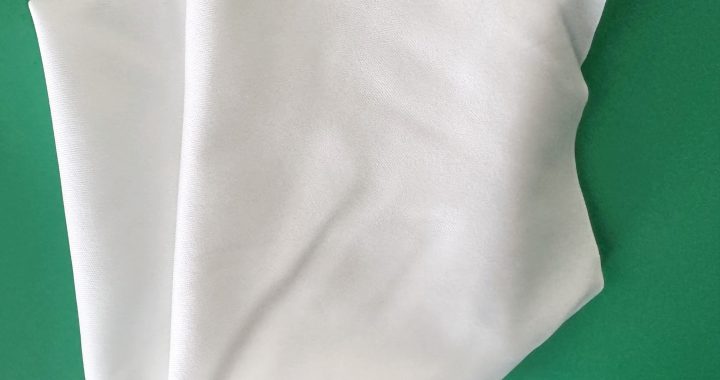
- Ensure wipes are lint-free (continuous-filament polyester/microfiber) and meet ISO 14644-1 Class 5 standards for low particle shedding (critical for precision instruments).
- Surface Compatibility Check:
- Review the manufacturer’s guidelines for the item being cleaned—avoid IPA on soft plastics (e.g., PVC, polystyrene), uncoated rubber, or some paint finishes (IPA can cause swelling or discoloration).
- Perform a spot test: Apply a small amount of IPA from the wipe to an inconspicuous area; wait 1–2 minutes. If no damage (clouding, peeling) occurs, proceed.
- Workspace Setup:
- Work in a well-ventilated area (e.g., under a fume hood, near an open window) to disperse IPA vapors (high concentrations can cause dizziness or respiratory irritation).
- Remove ignition sources (e.g., Bunsen burners, heat guns, electrical sparks)—IPA is highly flammable (flashpoint: 11.7°C/53.1°F).
- Ground yourself with an ESD wrist strap if cleaning electronics (prevents static discharge during wiping).
Step 2: Wiping Technique
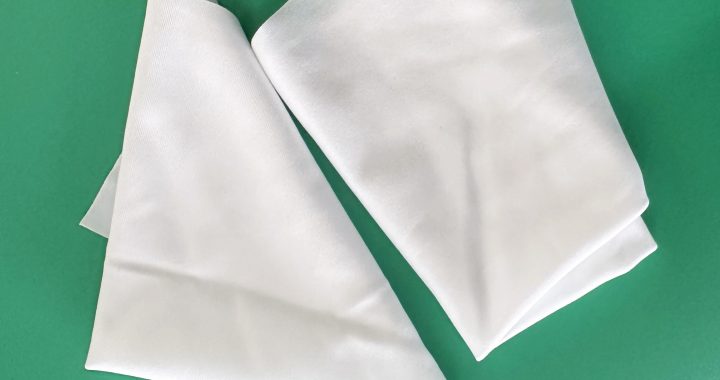
- Fold the Wipe for Precision:
- Fold the wipe into a 4-layer pad to concentrate IPA, avoid finger contact with the cleaning surface (prevents recontamination), and create multiple usable layers (rotate to a fresh layer as one becomes soiled).
- Apply Controlled Pressure:
- Use light, even pressure (≤1 psi) to avoid scratching delicate surfaces (e.g., anti-reflective coatings on optics, thin PCB traces).
- For flat surfaces (e.g., lab benches, PCB tops): Wipe in single, straight strokes (horizontal/vertical) with 50% overlap—circular motions spread residue and increase friction.
- For curved surfaces (e.g., lens edges, connector pins): Use radial strokes (center to edge) to ensure even coverage without trapping debris in crevices.
- Treat Stubborn Residues Carefully:
- For dried flux or adhesive, hold the IPA wipe against the residue for 5–10 seconds (let IPA dissolve the contaminant) instead of scrubbing—scrubbing can abrade surfaces or push residue into pores.
Step 3: Post-Operation Cleanup
- Dry the Surface (If Needed):
- For water-sensitive items (e.g., electronics, sensors), follow the IPA wipe with a dry, lint-free cloth to blot excess moisture—this prevents water spots or solvent intrusion into components.
- Allow the surface to air-dry completely (10–15 minutes for 99% IPA, 20–30 minutes for 70% IPA) before powering on or storing the item.
- Inspect for Residues:
- Check the surface under angled light or with a magnifying glass (10–20x) to ensure no IPA streaks, fibers, or remaining contaminants are present.
- Waste Disposal:
- Place used IPA wipes in fire-resistant, sealed waste bins (not regular trash)—used wipes retain IPA and pose a fire risk if exposed to heat or sparks.
- Empty waste bins daily to prevent vapor buildup.
2. Critical Precautions: Hazards to Avoid
- Fire Safety:
- Never use IPA wipes near open flames, hot surfaces (e.g., soldering irons), or electrical equipment with exposed contacts—vapors can ignite, causing fires.
- Do not store IPA wipes near heat sources; keep them in a cool (15–25°C), dry area in their original sealed packaging.
- Health Protection:
- Avoid skin contact: Prolonged exposure to IPA can cause dryness, irritation, or dermatitis. Wear nitrile gloves (latex degrades in IPA) during use.
- Do not inhale vapors: High concentrations can cause headaches, dizziness, or nausea. If working in a confined space, use a portable ventilation fan.
- Surface Damage Prevention:
- Do not use IPA wipes on:
- Screens with anti-glare coatings (e.g., some laptop or smartphone screens—IPA can strip the coating).
- Wooden surfaces (IPA dries wood and damages finishes).
- Older plastic components (e.g., vintage electronics—IPA may cause brittleness).
- Do not use IPA wipes on:
- Contamination Control:
- Do not reuse IPA wipes—they trap contaminants (dust, oils) and will retransfer them to surfaces.
- Do not touch the cleaning surface of the wipe with your fingers—skin oils will compromise cleaning results.
Adhering to these operational standards and precautions ensures IPA wipes deliver safe, effective cleaning for precision applications—protecting both the user and the sensitive materials being cleaned.