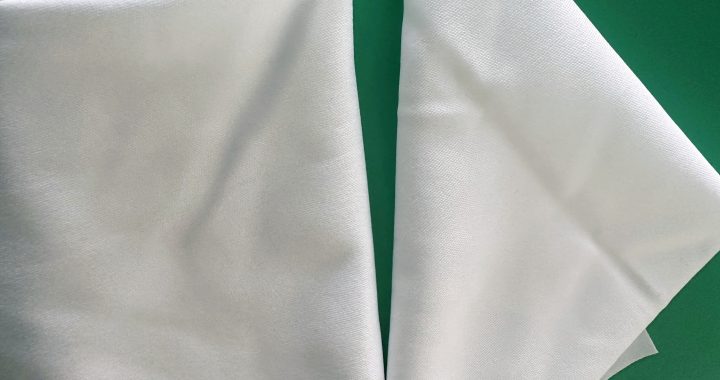
In laboratory environments—where even minute particles, fiber shedding, or improper cleaning can compromise experimental integrity, damage precision instruments, or contaminate samples—mastering the operational techniques of cleanroom wipes is critical to maintaining strict hygiene and performance standards. Cleanroom wipes, crafted from ultra-low-linting materials (e.g., microfiber, non-woven polyester) and often designed for lint-free, residue-free use, require deliberate handling to maximize their effectiveness while minimizing risks. Below is a detailed breakdown of key operational techniques tailored to laboratory needs.
1. Pre-Use Preparation: Ensure Wipe and Workspace Readiness
Before initiating cleaning, proper preparation lays the foundation for contamination control:
- Inspect Wipes for Defects: Examine each wipe under good lighting to check for tears, loose fibers, or visible contaminants (e.g., dust spots). Discard any damaged wipes immediately—flaws can shed debris onto sensitive surfaces (e.g., microscope lenses, petri dishes) or leave uneven cleaning results.
- Choose the Right Wipe Type: Match the wipe to the cleaning task: Use dry wipes for removing loose dust/particles from instrument exteriors or workbenches; opt for pre-wet, residue-free wipes (impregnated with high-purity solvents) for degreasing (e.g., removing fingerprint oils from glassware) or removing mild chemical residues. Avoid using multi-purpose wipes on ultra-sensitive areas (e.g., biosafety cabinet interiors) unless they meet ISO 14644-1 cleanroom classification standards.
- Control Static (If Applicable): For labs handling electrostatic-sensitive equipment (e.g., PCR machines, electronic sensors), use anti-static cleanroom wipes. Prior to use, ensure the wipe is grounded (if required) or treated with anti-static solutions to prevent static discharge from attracting particles.
2. Wiping Techniques: Maximize Contamination Removal Without Damage
The direction, pressure, and pattern of wiping directly impact cleaning efficiency and surface safety:
- Adopt a “One-Wipe, One-Direction” Rule: Avoid circular or back-and-forth motions, as these can redistribute contaminants (e.g., dust, spills) instead of removing them. Wipe in a single, consistent direction (e.g., horizontal strokes for workbenches, vertical strokes for glass surfaces) to trap debris within the wipe’s fibers. For large surfaces (e.g., lab countertops), divide the area into small sections and clean one section at a time to avoid missing spots.
- Use Light, Even Pressure: Apply gentle pressure—excessive force can damage delicate surfaces (e.g., optical coatings on spectrometers, thin glass slides) or cause the wipe to shed fibers. Let the wipe’s material (e.g., microfiber’s capillary action) do the work: its fine fibers will lift particles without needing heavy pressure.
- Prioritize “Clean-to-Dirty” Zones: Start cleaning from the least contaminated area and move toward the most soiled spot. For example, when cleaning a lab bench, begin with the area where samples are prepared (clean zone) and finish with the edge near the sink or waste bin (dirty zone). This prevents cross-contamination of critical surfaces.
3. Post-Use Handling: Avoid Secondary Contamination
Proper disposal or maintenance of used wipes prevents reintroducing contaminants into the lab:
- Dispose of Single-Use Wipes Immediately: Most laboratory cleanroom wipes are single-use (to avoid cross-contamination). After use, place them in a sealed, labeled waste container (not open trash bins) to prevent particles from escaping back into the air. Do not reuse single-use wipes—even if they appear “clean,” they may harbor microscopic debris or residues.
- Sterilize Reusable Wipes (If Approved): For reusable wipes (e.g., heavy-duty microfiber wipes for non-sensitive surfaces), follow strict sterilization protocols: Launder them in high-purity water with a residue-free detergent, dry at low temperatures (to prevent fiber damage), and store in a sealed, clean container until next use. Never mix reusable wipes with contaminated materials.
- Clean Wipe Dispensers Regularly: Wipe dispensers (e.g., wall-mounted or tabletop units) can accumulate dust or debris over time. Clean the dispenser’s exterior and opening weekly with a dry cleanroom wipe to ensure that each new wipe remains uncontaminated when retrieved.
4. Specialized Tips for High-Risk Lab Areas
Certain laboratory zones require extra care to meet stringent standards:
- Biosafety Cabinets (BSCs): Use sterile, non-pyrogenic cleanroom wipes to clean BSC interiors. Wipe down the work surface, side walls, and front window sash after each use, using a pre-wet wipe with a disinfectant compatible with the cabinet’s materials (check the manufacturer’s guidelines). Avoid wiping the HEPA filter grille—this can damage the filter.
- Precision Instruments: For equipment like HPLC systems or microscopes, use ultra-soft, lint-free wipes (e.g., polyester-based) to clean external surfaces. Never wipe internal components (e.g., detector cells) unless guided by the instrument’s manual—incorrect wiping can disrupt calibration or damage parts.
- Chemical Spill Cleanup: For small, non-hazardous chemical spills (e.g., water-based solutions), use an absorbent cleanroom wipe to blot the spill (do not wipe, as this can spread the liquid). For hazardous chemicals, follow the lab’s spill response protocol first, then use a chemically resistant cleanroom wipe to finish cleaning.
By following these operational techniques, laboratories can ensure that cleanroom wipes deliver consistent, reliable cleaning—protecting samples, preserving equipment lifespan, and maintaining compliance with industry and regulatory standards (e.g., GLP, ISO 14644).
