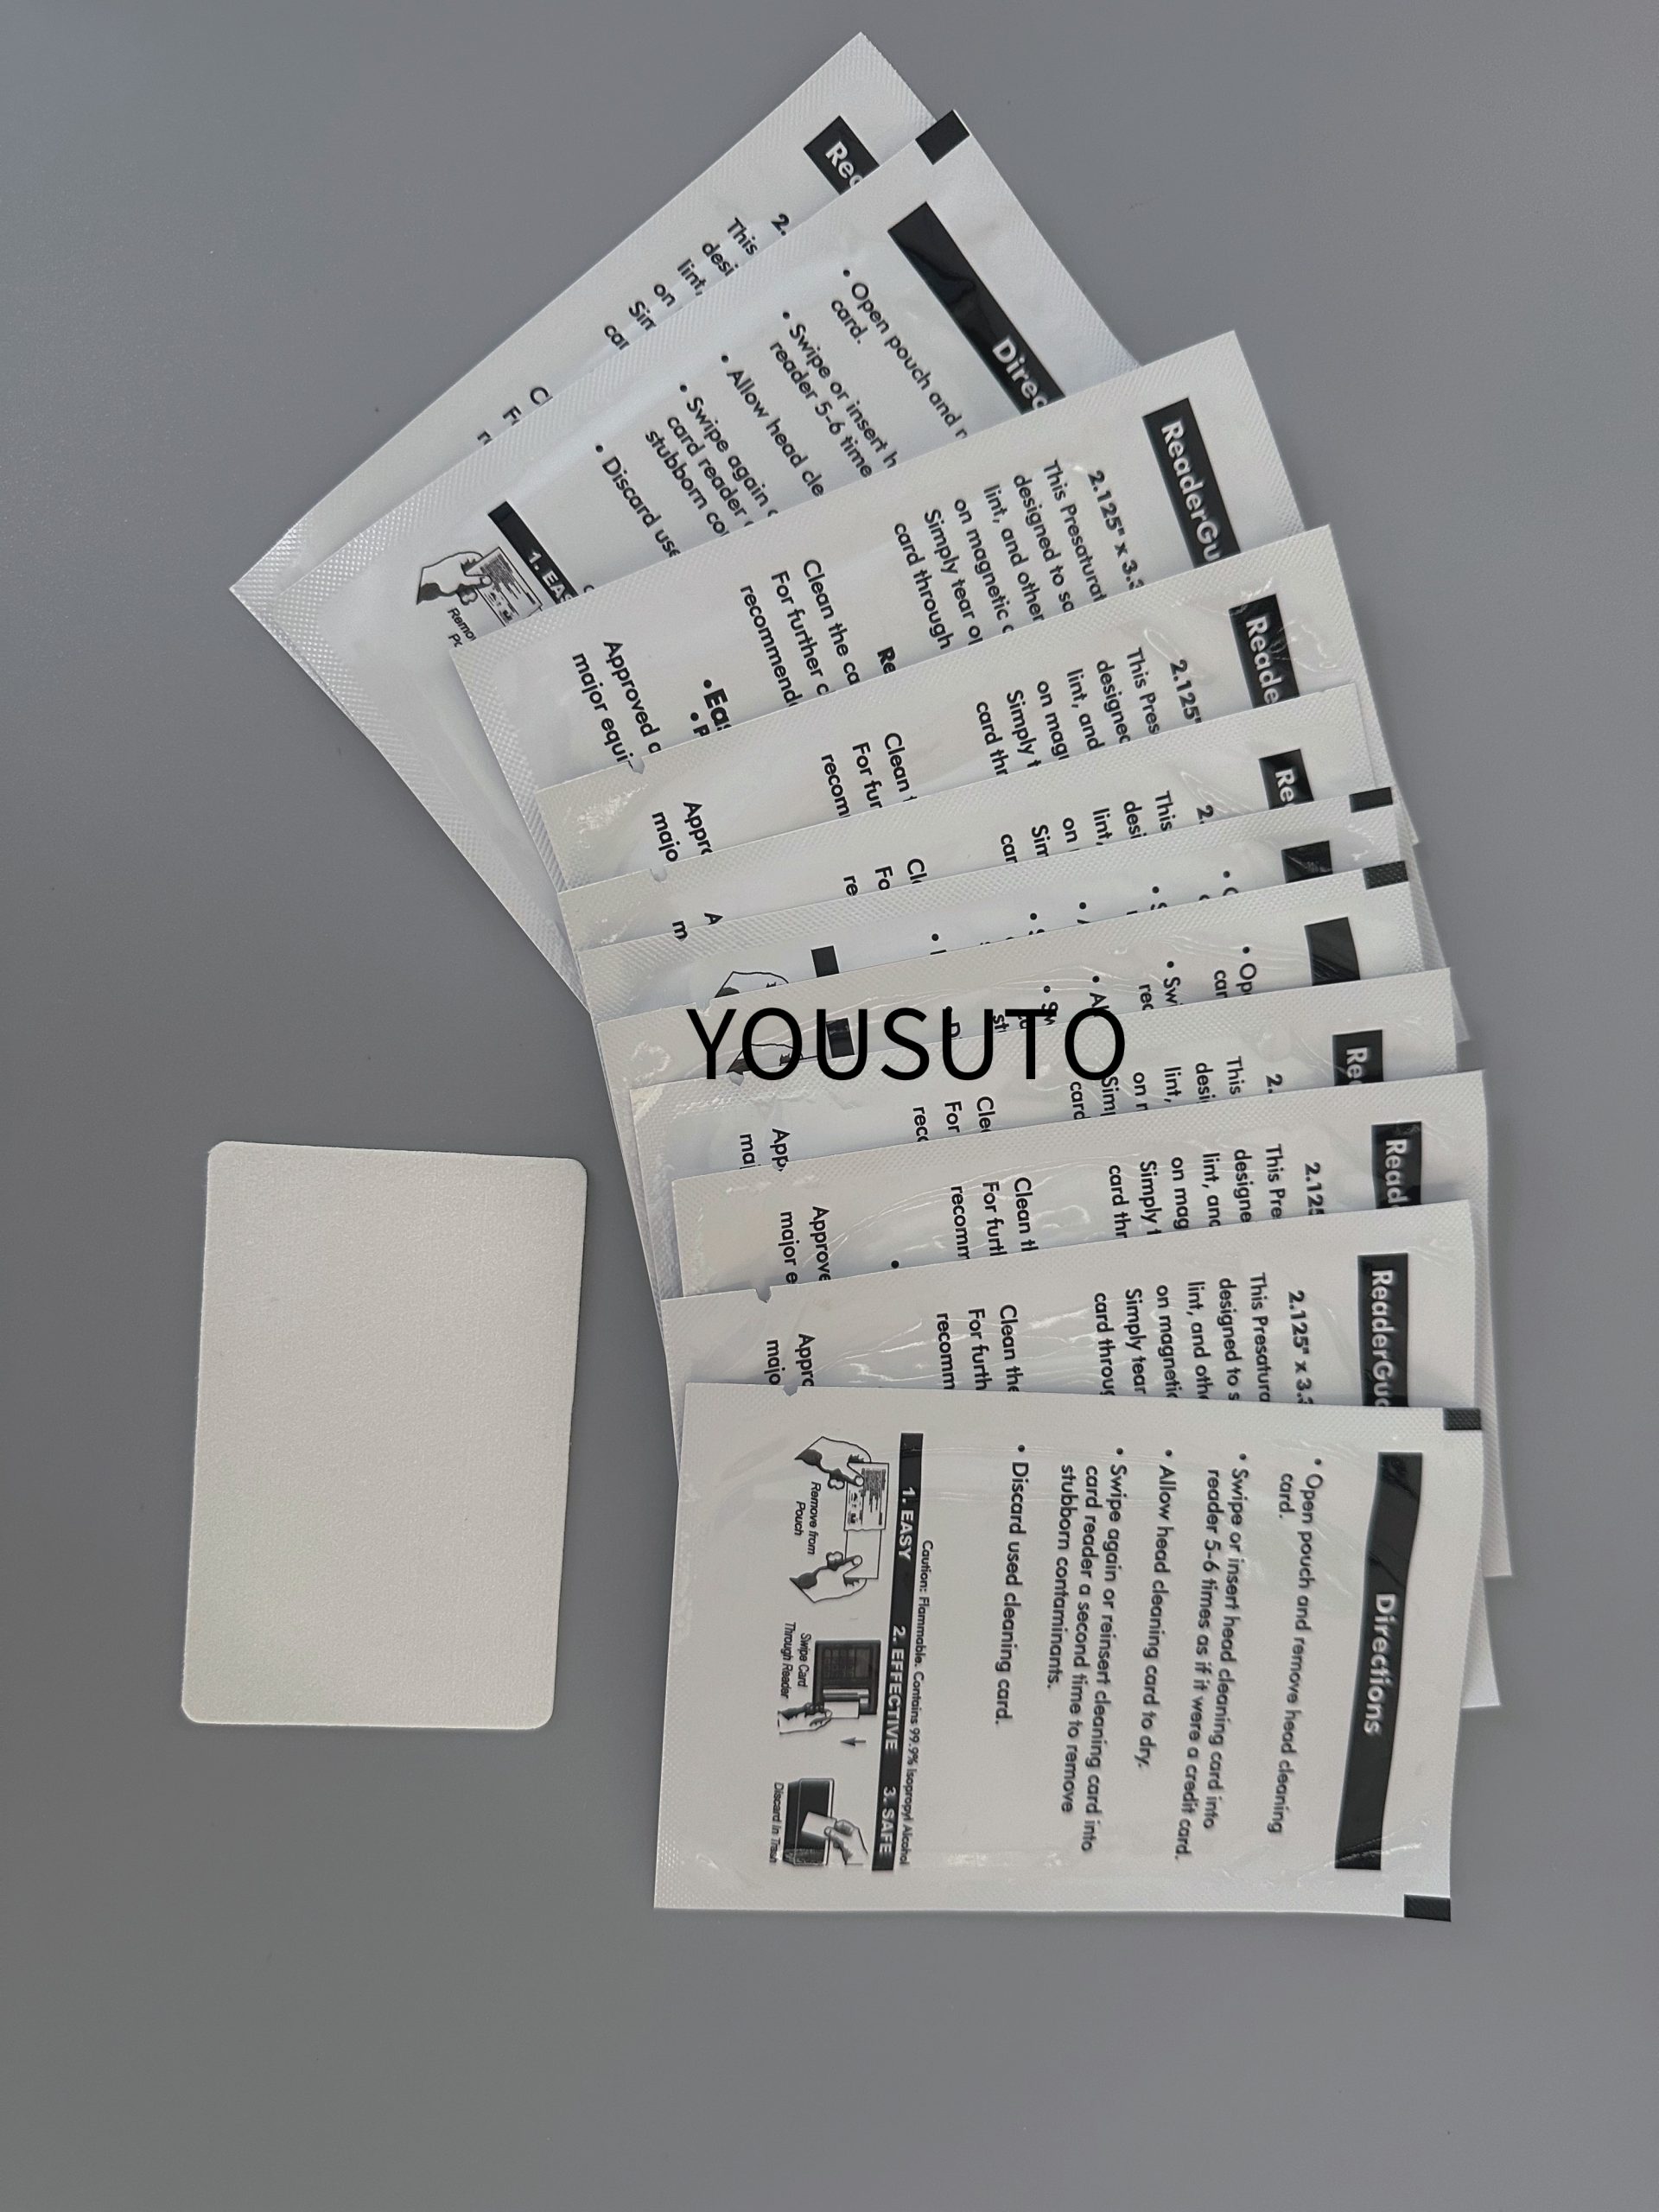
How to Use a Thermal Printer Cleaning Card:

- Step 1: Turn Off the PrinterBefore performing any cleaning, always ensure the printer is turned off and unplugged from the power source to avoid any accidents or electrical issues.
Step 2: Open the Printer Cover
Depending on your printer model, open the printer cover to access the internal components, including the print head and paper path. For some printers, you may need to remove the paper roll to access the print head and guides.
Step 3: Remove the Current Paper Roll
Carefully remove any paper or labels currently loaded in the printer. It’s important to clean the printer when there’s no paper inside to prevent contamination.
Step 4: Take Out the Cleaning Card
Remove a cleaning card from the package. Most thermal printer cleaning cards come pre-saturated with Isopropyl Alcohol (IPA) or another cleaning solution. Be sure not to touch the cleaning surface to avoid contamination from oils or dirt on your hands.
Step 5: Insert the Cleaning Card into the Printer
Insert the cleaning card into the printer just like you would with regular paper or labels. For most printers, you’ll want to insert it into the paper feed slot, ensuring that the card is aligned properly.
Step 6: Run the Cleaning Card Through the Printer
Gently feed the cleaning card through the printer’s paper path. If your printer has an automatic feed mechanism, the card will pass through the rollers and print head. Allow the card to travel through the entire paper path. As it moves through, it will loosen and capture dirt, dust, and other contaminants from the print head, paper guides, and other internal components.
If the printer doesn’t have automatic feed, you may need to manually feed the card through the rollers until it exits the other side. Alternatively, some printers allow you to perform the cleaning process via the printer’s maintenance or cleaning menu.
Step 7: Wait for the Cleaning Process to Finish
Once the cleaning card has fully passed through the printer, remove it from the output tray. Depending on the printer model, you may see the printer perform a few final checks or cleaning steps automatically. Allow the printer to dry completely before inserting a new paper roll.
Step 8: Reload Paper or Labels
After the cleaning process is complete and the printer has dried, you can reload the printer with new paper, labels, or tickets. Your printer is now cleaned and ready to produce high-quality prints again.
Tips for Best Results
- Frequency: Cleaning your thermal printer every time you replace the paper or label roll is ideal for preventing buildup. Depending on your printer’s usage, you may need to clean it every 1,000 to 2,000 prints or as recommended by the manufacturer.
- Avoid Over-Saturating: If you’re using a cleaning card that isn’t pre-saturated, ensure that it’s not too wet. Too much solution could lead to excess residue or damage to the printer’s internal components.
- Check the Printer’s Manual: Some printers have specific cleaning instructions or cleaning cycles. Always refer to the user manual for guidance on proper cleaning techniques.
- Use OEM Cleaning Cards: While third-party cleaning cards are available, using the manufacturer’s recommended cleaning cards (OEM) ensures compatibility and optimal cleaning performance.
Conclusion
Using a thermal printer cleaning card is an essential part of regular maintenance to ensure your printer operates at its best. By following the simple steps outlined above, you can effectively clean the print head, paper guides, and other internal components, improving print quality and reducing the risk of paper jams. Regular cleaning can help extend the lifespan of your thermal printer and prevent costly repairs down the line.
So, the next time you replace the paper roll or notice a decline in print quality, don’t forget to run a cleaning card through your thermal printer to keep it running smoothly.
By following these steps, you’ll help maintain your thermal printer’s performance and extend its lifespan.
