Optical instruments—such as microscopes, spectrometers, and laser systems—require meticulous cleaning to preserve light transmission, imaging clarity, and measurement accuracy. Even minor missteps (e.g., scratching anti-reflective [AR] coatings, leaving solvent streaks) can degrade performance. IPA (Isopropyl Alcohol) wipes offer a safe, effective solution for removing dust, fingerprint oils, and light residues—when used following a structured process. Below is a step-by-step guide tailored to protect sensitive optical components.
1. Pre-Clean Preparation: Safety & Compatibility First
Lay the groundwork to avoid instrument damage and ensure cleaning efficacy:
- Instrument & Workspace Prep:
- Power Down & Disconnect: Turn off the optical instrument and unplug it (critical for devices with electronic components, e.g., CCD cameras) to eliminate 触电 (electric shock) and electrostatic discharge (ESD) risks.
- Clear & Contain: Move the instrument to a clean, well-ventilated area (or use a fume hood for large systems) to prevent airborne dust recontamination. Cover non-optical parts (e.g., control panels, display screens) with a lint-free dry cloth to shield them from accidental IPA contact.
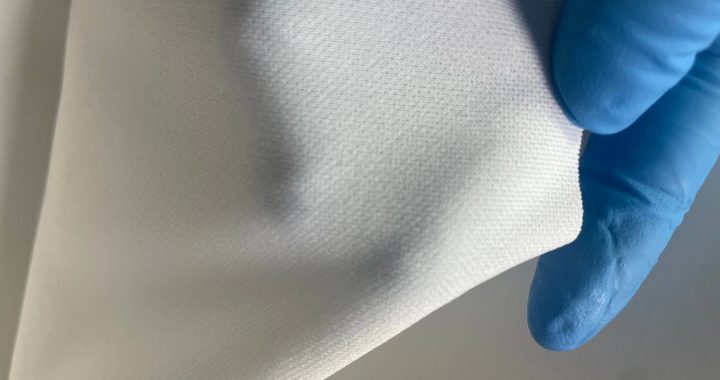
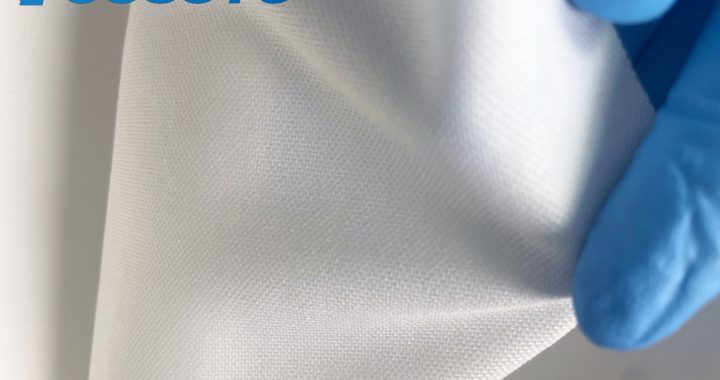
- IPA Wipe Selection:
- Match Wipes to Surfaces:
- Use 70% lens-grade IPA wipes for AR-coated lenses, IR filters, or delicate photonic components (water content slows evaporation, reducing streaks and coating damage).
- Choose 99% electronic-grade IPA wipes for non-coated glass surfaces (e.g., quartz cuvettes, microscope stage glass) or metal optical housings (high purity avoids residue buildup).
- Ensure Lint-Free Quality: Select wipes made from continuous-filament polyester or microfiber—staple-fiber wipes shed fibers that worsen dust contamination and scratch optics. Avoid wipes with fragrances, dyes, or preservatives (they leave sticky residues).
- Match Wipes to Surfaces:
- Compatibility Test:
- Test the IPA wipe on an inconspicuous area (e.g., the edge of a lens barrel or instrument housing) before full use. Wait 5 minutes to check for discoloration, swelling (for plastic parts), or coating peeling—stop use if damage occurs.
2. Step 1: Remove Loose Dust (Prevent Scratches!)
Never wipe loose dust directly with an IPA wipe—rubbing dry particles against optical surfaces causes micro-scratches. Always eliminate loose dust first:
- Blow Away Surface Dust: Use a static-neutralized bulb blower (not compressed air, which forces dust into crevices) to gently blow dust from large optical surfaces (e.g., lens exteriors, spectrometer detector windows). Hold the blower 10–15cm away from the surface to avoid excessive pressure that could dislodge small components.
- Target Narrow Gaps: For dust in tight spaces (e.g., between microscope objective threads, fiber optic connector ports), use a clean, dry, lint-free micro-swab (wooden or plastic handle—avoid metal) to lightly dab the area. Discard the swab after one use to prevent cross-contamination.
- Inspect for Remaining Dust: Check the surface under angled bright light—if dust spots remain, repeat the blower/swab step (do not proceed to wet cleaning).
3. Step 2: Wet Cleaning with IPA Wipes (Remove Residues)
Use IPA wipes to eliminate remaining dust and light organic residues (e.g., fingerprint oils, immersion oil) without damaging optics:
- For Large Optical Surfaces (e.g., Laser Mirrors, Spectrometer Windows):
- Remove one IPA wipe from its sealed packaging (do not leave wipes exposed—IPA evaporates quickly, reducing efficacy). Fold the wipe into a 4-layer pad to create a firm, absorbent surface and avoid direct finger contact with the instrument.
- Wipe the surface in slow, single linear strokes (horizontal or vertical)—never circular motions (which spread residue and increase scratch risk). Apply light pressure (<0.2 psi)—imagine pressing a feather against the surface—to avoid compressing dust into the glass.
- Use a fresh section of the wipe for each stroke (unfold the pad to expose clean fibers) to prevent re-depositing dust or residue.
- For Small/Delicate Optics (e.g., Microscope Objectives, Fiber Optic Tips):
- Tear the IPA wipe into a small strip (1–2cm wide) to match the component size—avoid using large wipes that contact non-optical areas (e.g., plastic objective housings sensitive to IPA).
- Dab, Don’t Wipe: Gently dab the optical surface with the wipe strip to lift residues—dabbing minimizes friction and protects fragile AR coatings. For stubborn spots (e.g., dried immersion oil), hold the wipe against the spot for 2–3 seconds to let IPA dissolve it, then dab once.
- Avoid Component Leads: For optics with electrical connections (e.g., sensor lenses), keep the wipe away from pins or ports—IPA can seep into connectors and cause short circuits.
4. Step 3: Post-Clean Drying & Inspection
Ensure the instrument is streak-free, dry, and ready for use:
- Blot Excess IPA: Immediately after wet cleaning, use a dry, lint-free optical cloth to gently blot the surface—do not rub (rubbing causes streaks). For small optics (e.g., objective lenses), use a dry micro-swab to dab moisture from edges.
- Allow Full Drying: Let the instrument air-dry for 5–10 minutes (longer for humid environments) to ensure all IPA evaporates—residual moisture can cause lens flare or damage coatings when the instrument is heated (e.g., laser operation).
- Inspect for Quality:
- Check the optical surface under a 10–40x magnifying glass for streaks, dust, or scratches. If streaks remain, repeat Step 3 with a fresh IPA wipe (do not reuse wipes).
- Verify non-optical parts (e.g., control knobs) are dry and free of IPA residue—wipe with a dry cloth if needed.
5. Step 4: Post-Clean Storage (Prevent Recontamination)
Protect cleaned optics from dust until next use:
- Cover the instrument with a breathable, lint-free dust cover (avoid plastic covers—they trap moisture and promote mold growth).
- For detachable optics (e.g., microscope objectives), store them in their original lens cases with foam padding—add a desiccant packet to absorb moisture.
- Log the cleaning (date, wipe type, surfaces cleaned) to track maintenance intervals—over-cleaning can degrade AR coatings, so follow the manufacturer’s recommended schedule (e.g., monthly for frequently used instruments).