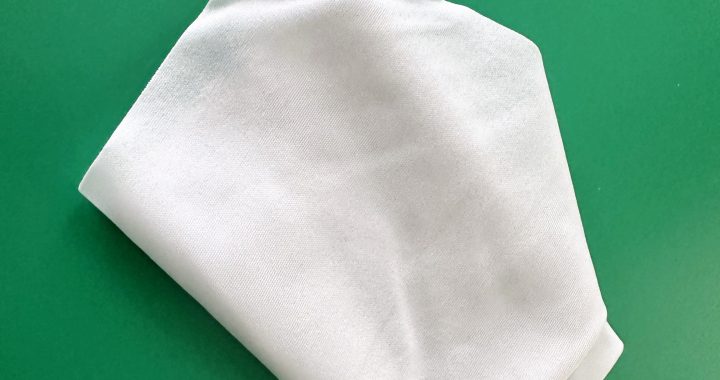
PCBs (Printed Circuit Boards) require thorough, residue-free cleaning to eliminate flux, solder spatter, handling oils, and dust—contaminants that cause electrical shorts, poor solder joints, or component failure. IPA (Isopropyl Alcohol) wipes—pre-impregnated with 70–99% electronic-grade IPA—deliver safe, effective solvent-based cleaning for PCBs, from prototype repair to high-volume production. Below is a step-by-step operation guide to protect PCB integrity while ensuring deep decontamination.
1. Pre-Clean Preparation: Safety, Compatibility, and Tool Setup
Lay the groundwork to avoid PCB damage and ensure targeted cleaning:
- Safety Precautions:
- Work in a well-ventilated area (IPA is volatile)—avoid enclosed spaces to prevent vapor buildup.
- Wear nitrile gloves (low-lint, chemical-resistant) to prevent skin oil transfer to PCBs and protect hands from IPA.
- Power off and disconnect any mounted components (e.g., microchips, resistors) from the PCB—IPA is conductive, so live circuits risk shorting.
- IPA Wipe Selection:
PCB Contaminant Type IPA Concentration Wipe Material Purpose Flux residue (rosin/no-clean) 99% electronic-grade Lint-free polyester Dissolves tough flux without residue Handling oils/fingerprints 70% electronic-grade Cellulose-polyester blend Balances solvent strength and surface safety Solder spatter/metal dust 99% electronic-grade High-density polyester Captures debris while dissolving oils - Tool Prep:
Gather a static-neutralized bulb blower, 10–20x PCB magnifier, and dry lint-free cloth (for post-wipe drying). Secure the PCB on an anti-static mat to prevent ESD damage.
2. Step 1: Remove Loose Dust & Debris (Pre-IPA Pass)
Wiping loose particles with IPA wipes grinds them into PCB traces or component leads—always eliminate dry contaminants first:
- Use the static-neutralized bulb blower to deliver short, gentle bursts of air to the PCB surface. Focus on tight areas: component gaps, solder joints, and connector pins. Tilt the PCB at a 45° angle to let dust fall downward (not onto other components).
- For stubborn dust (e.g., trapped between 0201 resistors), use a dry, lint-free micro-swab (wooden handle—avoids ESD) to lightly dab the area. Discard the swab after use to prevent cross-contamination.
- Inspect the PCB under the magnifier—proceed to IPA cleaning only if no visible dust remains.
3. Step 2: IPA Wipe Cleaning (Targeted Contaminant Removal)
Follow these techniques to dissolve residues without damaging PCB materials (e.g., solder masks, copper traces):
- General Surface Cleaning (Open PCB Areas):
- Remove one IPA wipe from its sealed packaging—hold it by the edges (never touch the cleaning surface) to avoid fiber transfer.
- Wipe the PCB in slow, linear strokes (parallel to copper traces)—never circular motions (which spread contaminants and risk scratching the solder mask). Apply light pressure (<0.2 psi)—enough to lift residue, not enough to bend delicate leads.
- Precision Cleaning (Component Leads/Fine-Pitch Pads):
- For narrow areas (e.g., QFP/BGA pins, 0.3mm pitch connectors), tear the IPA wipe into 1cm-wide strips.
- Wrap a strip around the tip of plastic-tipped tweezers (avoids metal scratching) and gently run it along component leads or between pads. Rotate the tweezers to use a fresh section of the strip for each pass.
- Flux Residue Removal:
- Hold the IPA wipe against dried flux spots (e.g., around solder joints) for 2–3 seconds—this softens the flux, reducing the need for scrubbing.
- Wipe the flux spot in a single, gentle stroke—repeating with a fresh wipe section if residue remains. Avoid over-wiping (can wear away the solder mask).
4. Step 3: Post-Clean Drying & Validation
Residual IPA causes water spots or flux re-deposition as it evaporates—proper drying ensures a clean finish:
- Blot Excess IPA: Immediately after cleaning, use a dry lint-free cloth to lightly blot the PCB surface. Use a single pass—rubbing smears remaining residue and risks damaging components.
- Air-Dry Fully: Let the PCB air-dry for 5–10 minutes in a low-humidity area (≤50% RH). For PCBs with fine-pitch components, extend drying time to 15 minutes—trapped IPA in small gaps can corrode traces over time.
- Validation:
- Inspect the PCB under the 10–20x magnifier for remaining flux, fibers, or discoloration—no contaminants should be visible.
- For functional PCBs, use a multimeter to check for continuity between traces (ensures no IPA-induced shorts) before remounting components.
5. Critical Do’s & Don’ts
- Do: Test IPA wipes on an inconspicuous PCB area (e.g., edge of the solder mask) first—ensure no discoloration or mask peeling.
- Don’t: Use IPA wipes on PCB materials like flexible polyimide (some grades are IPA-sensitive)—check the PCB manufacturer’s guidelines.
- Do: Dispose of used IPA wipes in fire-resistant bins (IPA is flammable)—never discard in regular trash.
