1. Core Performance Metrics: Side-by-Side Comparison
| Performance Metric | High-Density Cleanroom Wipes | Dry Cleanroom Wipes |
|---|---|---|
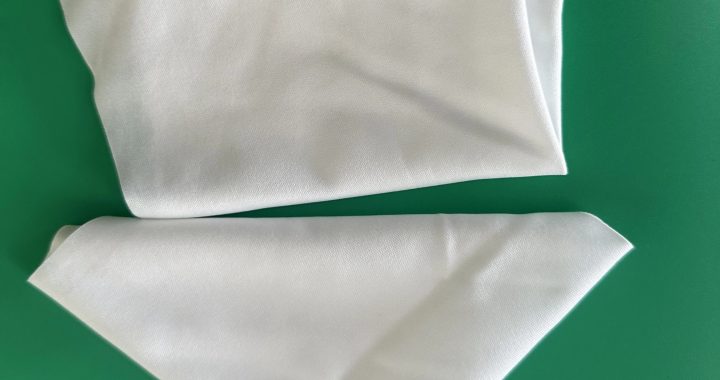
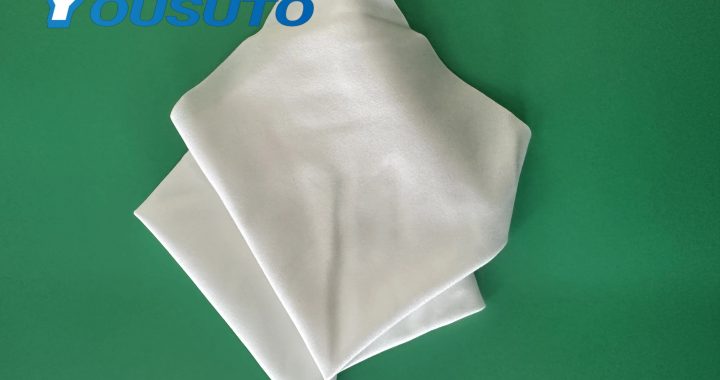
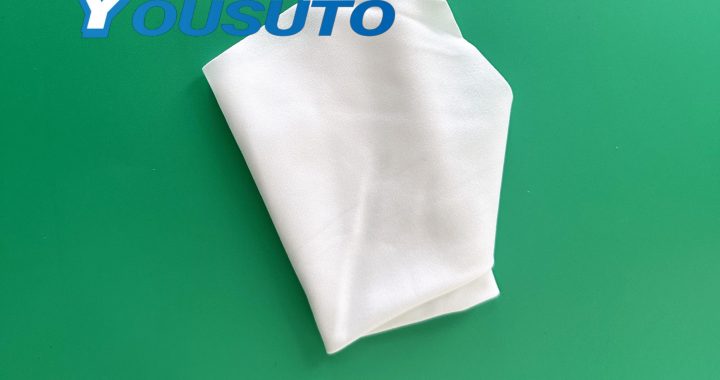
| Material & Structure | – Thick, tightly woven fibers (250–400 gsm) – often polyester/microfiber blends
– Continuous-filament construction with reinforced edges – May be pre-moistened (with IPA/deionized water) or dry |
– Thin, lightweight weave (100–180 gsm) – typically pure polyester or cellulose
– Basic continuous-filament or fine staple-fiber construction – Exclusively dry (no pre-moistened variants) |
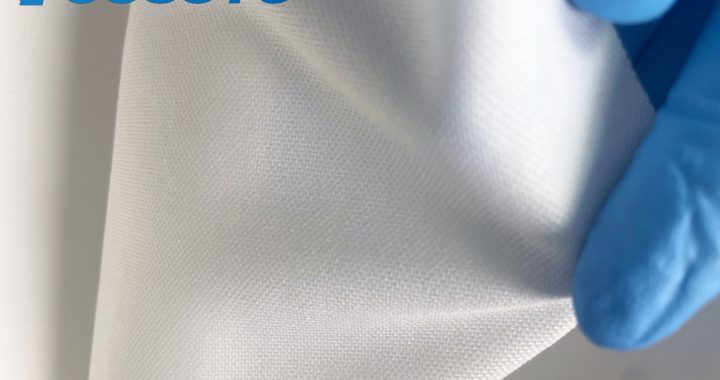
| Particle Trapping Capacity | – Traps sub-micron particles (0.05–0.1μm) via dense capillary networks
– Ultra-low linting (≤1 fiber shed per use) – Ideal for ISO Class 1–5 cleanrooms |
– Traps larger particles (≥0.5μm) – misses fine debris
– Moderate linting (3–5 fibers shed per use) – Limited to ISO Class 6–9 cleanrooms |
| Durability & Reusability | – Resists tearing/fraying even with 8–10 passes on textured surfaces (e.g., equipment seams)
– Heat-sealed edges prevent fiber breakdown – Reusable (if approved) with proper sterilization (e.g., gamma irradiation) |
– Thin, non-reinforced edges tear after 2–3 passes
– Degrades quickly when used with rough surfaces – Single-use only (high waste generation) |
| Liquid Handling (If Dry) | – Dry variants absorb 10–15x their weight in liquids (water/solvents) via capillary action
– Prevents liquid breakthrough (no leaking) – Suitable for spill cleanup and residue removal |
– Absorbs 5–8x their weight in liquids
– Prone to leaking when saturated – Only for light spills (not heavy or viscous liquids) |
| Versatility | – Performs dry particle removal, liquid absorption, and pre-moistened residue cleaning
– Safe for delicate surfaces (e.g., optical lenses, semiconductors) – Compatible with solvents (IPA, acetone) |
– Limited to dry particle removal only
– Risk of scratching delicate surfaces (e.g., anti-reflective coatings) if used with pressure – Not compatible with solvents (degrades fibers) |
2. Use Case Suitability: Which Wipe to Choose?
High-Density Cleanroom Wipes: Ideal For
- Semiconductor Manufacturing: Cleaning wafer chucks, lithography optics, and ESD-sensitive IC chips (traps sub-micron silicon dust, resists solvent damage).
- Precision Optical Labs: Wiping laser lenses, spectrometer windows, and microscope objectives (low linting, safe for anti-reflective coatings).
- Heavy Spill Cleanup: Absorbing large volumes of solvents (e.g., IPA) or aqueous reagents in biotech labs (high liquid retention, no leaking).
- ISO Class 1–5 Cleanrooms: Meeting strict particle limits for medical implant production or microelectronics assembly.
Dry Cleanroom Wipes: Ideal For
- General Lab Bench Dusting: Removing loose dust from non-sensitive surfaces (e.g., plastic lab equipment, glassware exteriors).
- ISO Class 6–9 Cleanrooms: Basic contamination control for less precise manufacturing (e.g., plastic component assembly, packaging).
- Temporary Cleanup: Quick dust removal in drafty areas (e.g., cleanroom entryways) where frequent wipe replacement is acceptable.
- Low-Budget Operations: Reducing costs for non-critical cleaning (dry wipes are 30–50% cheaper than high-density variants).
3. Cost & Efficiency Tradeoffs
- High-Density Wipes: Higher upfront cost ($0.20–$0.50 per wipe) but lower long-term expenses—fewer wipes are needed per task (reduces waste by 40–60%), and reusability (for approved applications) cuts replacement frequency.
- Dry Wipes: Lower upfront cost ($0.05–$0.15 per wipe) but higher long-term waste—single-use requirement means more wipes are consumed, and their limited functionality may require supplementary tools (e.g., separate spill absorbents), increasing overall costs.
4. Compliance Considerations
- High-Density Wipes: Meet industry standards like ISO 14644-1 (Class 1–5), ANSI/ESD S20.20 (for anti-static variants), and SEMI F21 (semiconductor compatibility)—critical for regulated sectors (aerospace, medical devices).
- Dry Wipes: Only meet basic ISO 14644-1 (Class 6–9) standards—insufficient for applications requiring strict particle or lint control (e.g., pharmaceutical manufacturing).