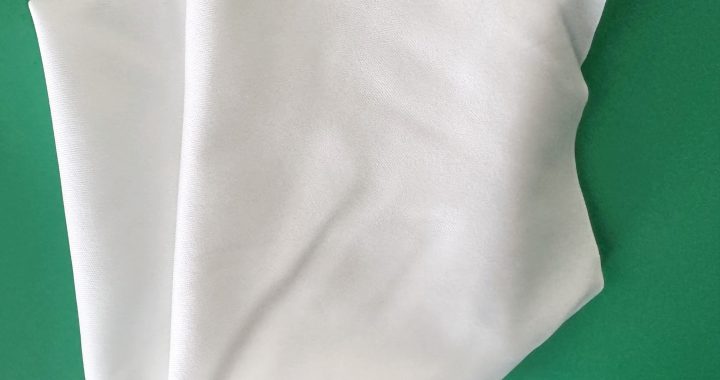
Optical equipment—including microscopes, spectrometers, laser systems, and camera lenses—relies on pristine surfaces to maintain light transmission, imaging clarity, and measurement accuracy. Even minor missteps (e.g., scratching anti-reflective [AR] coatings, leaving solvent streaks) can degrade performance or require costly repairs. Pre-wet cleanroom wipes—pre-impregnated with lens-safe solvents (deionized water, lens-grade IPA) or gentle surfactants—offer consistent, low-risk cleaning when used correctly. Below are industry-recognized best practices tailored to protect optical components.
1. Pre-Clean Preparation: Lay the Groundwork for Safe Cleaning
Proper prep prevents accidental damage and ensures dust (the #1 cause of scratches) is addressed before wet cleaning:
- Equipment & Solvent Compatibility Check:
- Confirm the pre-wet wipe’s solvent matches the optical surface: Use deionized water-based wipes for AR-coated lenses, IR filters, or delicate photonic components (avoids solvent-induced coating degradation). Choose lens-grade IPA wipes (70–99%) only for glass surfaces without special coatings (e.g., standard microscope slides, quartz cuvettes).
- Test the wipe on an inconspicuous area (e.g., the edge of a lens barrel, not the optical surface) to check for discoloration or swelling—never skip this step for vintage or custom optics.
- Workspace & Tool Prep:
- Clean the workbench with a lint-free dry wipe and use a laminar flow hood (if available) to reduce airborne dust. Turn off the optical device and disconnect power (for systems with electronic components, e.g., CCD cameras) to avoid ESD or short circuits.
- Gather tools: A static-neutralized bulb blower (to remove loose dust), a pair of plastic-tipped tweezers (for small wipes), and a dry, lint-free optical cloth (for post-wipe drying). Avoid metal tools—they scratch glass.
2. Step 1: Remove Loose Dust First (Non-Negotiable for Scratch Prevention)
Wiping dry dust with a pre-wet wipe grinds particles into the optical surface, causing micro-scratches. Always eliminate loose dust first:
- Hold the bulb blower 10–15cm away from the optical surface (e.g., a microscope objective) and gently squeeze to blow dust away. Use short, controlled bursts—avoid prolonged pressure, which can force dust into lens crevices.
- For narrow gaps (e.g., between lens elements, fiber optic connectors), use a dry, lint-free micro-swab (wooden or plastic handle) to lightly dab the area. Discard the swab after one use to prevent cross-contamination.
- Inspect the surface under angled light to confirm no visible dust remains—if spots persist, repeat the blower/swab step (do not proceed to wet cleaning).
3. Step 2: Precision Wet Cleaning with Pre-Wet Wipes
Use pre-wet wipes to target remaining dust and light organic residues (e.g., fingerprint oils, immersion oil) without damaging optics:
- For Large Optical Surfaces (e.g., Spectrometer Detector Windows, Laser Mirrors):
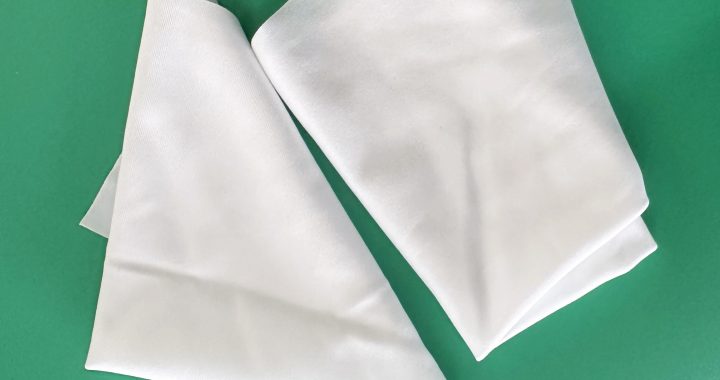
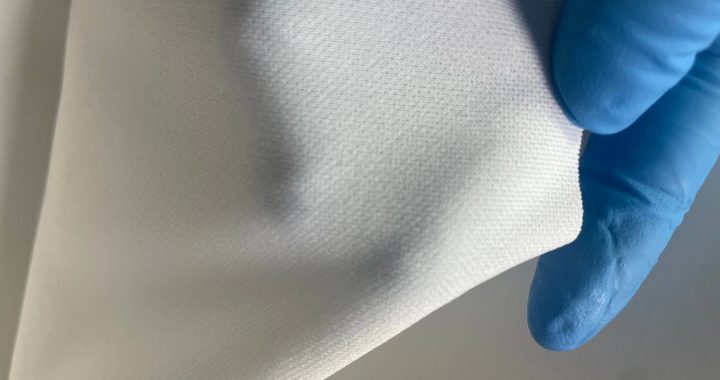
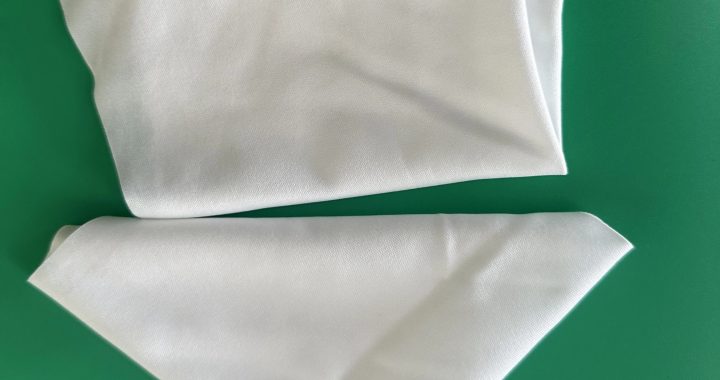
- Select a pre-wet wipe sized to the surface (e.g., 4”x4” for mirrors, 2”x2” for detector windows) to avoid over-wiping. Remove the wipe from its sealed packaging—do not touch the wipe’s cleaning surface with your fingers (skin oils transfer to optics).
- Fold the wipe into a thin, firm pad (2–3 layers) to ensure even solvent distribution. Wipe the surface in single, slow linear strokes (e.g., top-to-bottom for vertical mirrors) —never circular motions (which spread residue and increase scratch risk).
- Use light pressure (<0.2 psi)—imagine pressing a feather against the surface. Too much pressure compresses the wipe’s fibers, pushing dust into the glass or damaging AR coatings.
- For Small/Delicate Optics (e.g., Microscope Objectives, Fiber Optic Tips):
- Tear a pre-wet wipe into a 1cm-wide strip and wrap it around the plastic-tipped tweezers (secure with gentle pressure to avoid slipping).
- For objectives: Gently dab the lens surface (do not wipe) to lift residues—dabbing minimizes friction and ensures the wipe only contacts the optical area (avoids the objective’s metal housing, which may corrode with solvent).
- For fiber optic tips: Use the wipe-wrapped tweezers to lightly polish the tip in a circular motion (slow, 1–2 rotations)—this removes dust without damaging the fiber core.
- Post-Wipe Drying (Critical for Streak-Free Results):
- Immediately after wet cleaning, blot the optical surface with a dry, lint-free optical cloth to remove excess solvent. Use a single, gentle stroke—do not rub (rubbing causes streaks).
- For IPA-based wipes: Ensure full drying (1–2 minutes) before using the equipment—residual IPA can cause lens flare or coating damage if heated (e.g., in laser systems).
4. Step 3: Post-Clean Inspection & Storage
Verify cleaning efficacy and protect optics from recontamination:
- Inspect the optical surface under a bright light (or use a 20–40x magnifier) to check for streaks, dust, or scratches. If streaks remain, repeat the wet cleaning step with a fresh pre-wet wipe (do not reuse wipes).
- Store cleaned optics in a dust-free container (e.g., lens cases with foam padding) or cover the equipment with a breathable dust cover (avoid plastic covers—they trap moisture).
- Log the cleaning (date, wipe type, surface cleaned) to track maintenance intervals—over-cleaning can degrade AR coatings, so stick to manufacturer-recommended schedules (e.g., monthly for frequently used microscopes).
Critical Do’s and Don’ts
- Do: Use only wipes labeled “optical-grade” or “lens-safe”—industrial pre-wet wipes may contain abrasives or harsh solvents.
- Don’t: Reuse pre-wet wipes—used wipes trap dust and residues, leading to cross-contamination.
- Don’t: Clean hot optics (e.g., post-laser use)—thermal shock from cold solvent can crack glass. Wait until surfaces cool to <40°C.
By following these best practices, pre-wet cleanroom wipes deliver safe, streak-free, and scratch-free cleaning—preserving optical equipment performance, extending lifespan, and ensuring reliable data for research or industrial use.