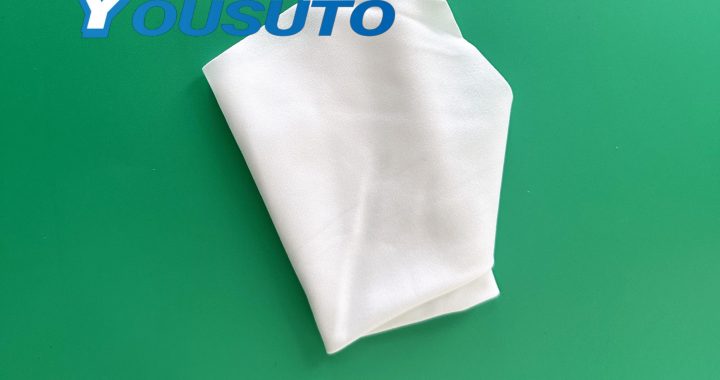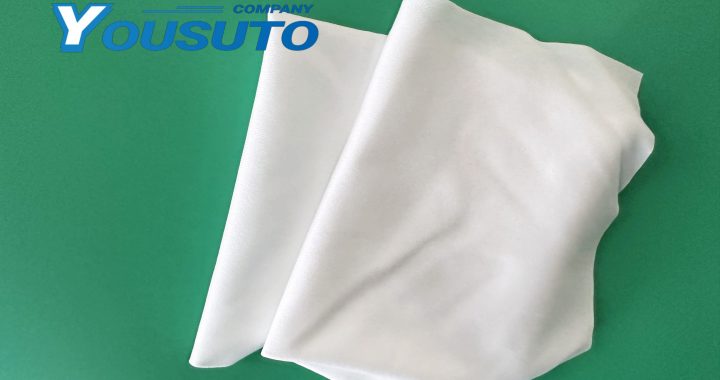
Electronics factories manufacturing microchips, PCBs, sensors, and consumer devices demand precision cleaning to eliminate sub-micron contaminants, flux residues, and handling oils—critical for ensuring product reliability and reducing defects. Cleanroom wet wipes—pre-moistened with high-purity solvents (99.9% IPA, deionized water) or specialized cleaners—deliver consistent, controlled cleaning for delicate components, outperforming traditional rags or spray bottles. Below is their targeted use across key precision cleaning tasks in electronics production.
1. PCB Assembly Lines: Post-Soldering and Rework Cleaning
PCBs with fine-pitch components (0.3mm BGA, 0201 resistors) require residue-free cleaning to prevent short circuits and ensure solder joint integrity:
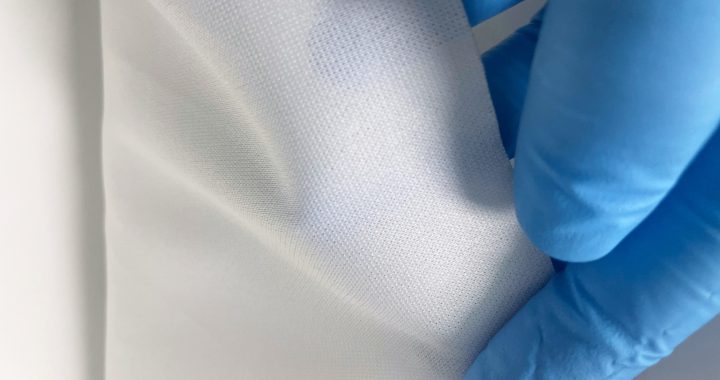
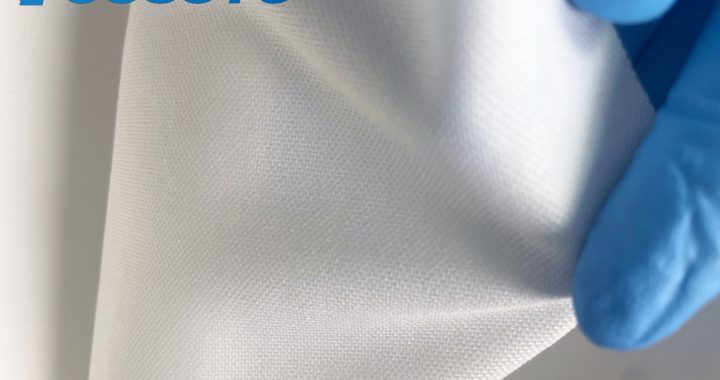
- Wipe Selection: Use lint-free polyester wet wipes pre-impregnated with 99% electronic-grade IPA (metal impurities ≤10 ppb). Their strong solvent retention dissolves rosin flux, while continuous filaments avoid fiber contamination on small pads.
- Application:
- For solder joints: Fold wipes into 1cm strips and wipe in single linear strokes (parallel to component leads) to lift flux without bending fragile pins.
- For rework areas: Hold the wipe against dried solder paste for 2–3 seconds to soften, then dab gently—avoids spreading paste into component gaps.
- Post-clean: Verify with 20x magnification to ensure no residue remains on traces or between pins.
2. Component Packaging: Cleanroom Wipe Use for Trays and Carriers
ESD-sensitive components (ICs, diodes, sensors) are stored in anti-static trays that accumulate dust and oils, risking contamination during placement:
- Wipe Selection: Choose static-dissipative wet wipes (10⁶–10⁹ Ω) with mild surfactants to clean plastic/metal trays without degrading anti-static properties.
- Application:
- Disassemble trays and wipe internal slots with folded wipes—focus on corners where dust lodges.
- For carrier lids: Wipe sealing surfaces to remove warehouse dust, ensuring a tight seal post-cleaning.
- Air-dry for 5 minutes before restocking—moisture reduces tray static-dissipative performance.
3. SMT Machine Maintenance: Nozzle and Placement Head Cleaning
Surface Mount Technology (SMT) machines rely on clean nozzles and placement heads for accurate component placement—dust or solder spatter causes misalignment:
- Wipe Selection: Opt for high-density wet wipes (300+ gsm) pre-wet with 99% IPA. Their thick structure traps solder particles and resists tearing during scrubbing.
- Application:
- Power down the machine and ground the head. Wrap wipes around plastic tweezers to clean nozzle openings—twist gently to remove dried paste.
- Wipe placement head surfaces in circular motions to remove dust, avoiding air vents to prevent fiber ingestion.
4. Final Assembly: Cleaning Interfaces and Enclosures
Finished devices (smartphones, IoT modules) need clean interfaces (USB ports, display edges) and spotless enclosures to meet quality standards:
- Wipe Selection: Use low-VOC wet wipes for plastic enclosures (avoids discoloration) and lens-grade IPA wipes for glass displays/sensors.
- Application:
- Wipe display edges with folded wipes to remove assembly oils—use light pressure to avoid scratching anti-glare coatings.
- Clean USB ports with mini wipe strips (guided by tweezers) to remove dust, ensuring reliable connectivity.