Laboratories handling electronics, precision instruments, or ESD-sensitive components require strict contamination and static control. Anti-static cleanroom wipes—engineered to dissipate static and trap particles—are critical tools, but their effectiveness depends on standardized protocols. Below is a comprehensive guide to their 规范操作 (standard operation) in lab settings, ensuring safety, compliance, and optimal cleaning results.
1. Pre-Cleaning Preparation: Lay the Foundation
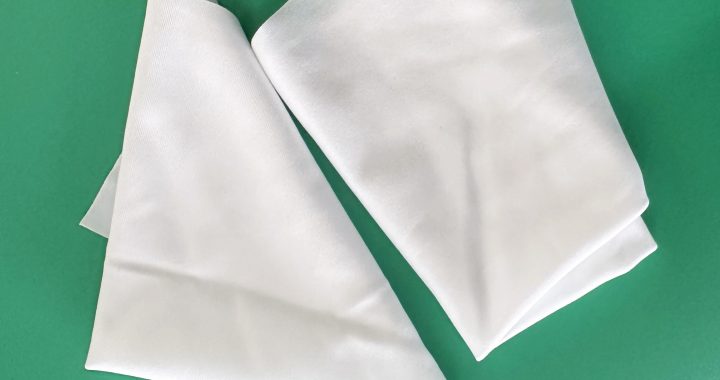
- Wipe Selection: Choose wipes certified for lab use with surface resistance 10⁶–10¹¹ Ω (ANSI/ESD S20.20) and ultra-low linting (≤1 fiber shed per wipe). Match to tasks: dry wipes for dust, pre-wet (IPA/deionized water) for residues.
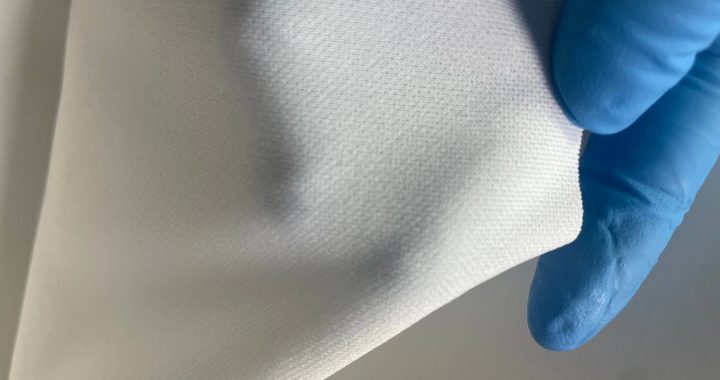
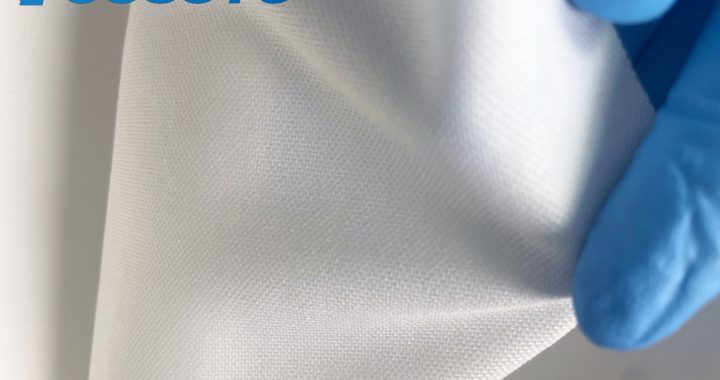
- Operator Grounding: Wear ESD wrist straps connected to grounded workbenches and anti-static gloves. This prevents personal static from transferring to wipes or equipment.
- Wipe Inspection: Check for tears, loose fibers, or expired anti-static treatments (shelf life: 12–24 months). Discard defective wipes to avoid contamination.
- Environment Check: Maintain 30–50% humidity (reduces static generation) and ensure workbenches are clean and clutter-free.
2. Step-by-Step Wiping Protocols
A. Dry Wiping for Particle Removal
- Folding Technique: Fold the wipe into a 4-layer pad to create a dense, low-linting surface. This maximizes particle trapping and minimizes edge fraying.
- Wiping Direction: Use single, straight strokes (horizontal/vertical) with 50% overlap. Avoid circular motions, which redistribute particles. For curved surfaces (e.g., sensor housings), use radial strokes from center to edge.
- Pressure Control: Apply light, even pressure (≤1 psi). Excessive force generates static and compresses fibers, reducing particle retention.
- Layer Rotation: Rotate the wipe to a clean layer after 2–3 strokes. Discard when all layers are soiled.
B. Pre-Wet Wiping for Residue Removal
- Moisture Check: Ensure pre-wet wipes are damp (not dripping). Blot excess liquid on a dry wipe to prevent seepage into equipment (e.g., circuit boards).
- Residue Targeting: For oils/fingerprints, hold the wipe against the area for 5 seconds to dissolve residues, then wipe gently. Focus on high-touch areas (e.g., instrument knobs, sample ports).
- Post-Wipe Drying: Follow with a dry anti-static wipe to absorb excess moisture, preventing water spots on optics or corrosion on metal components.
3. Post-Cleaning Practices
- Waste Disposal: Place used wipes in sealed, anti-static waste bins. Separate solvent-soaked wipes (e.g., IPA) from dry ones to avoid fire risks.
- Equipment Verification: Use a particle counter to check surface cleanliness (≤5 particles ≥0.5μm/cm²) and an ESD tester to confirm static levels <100V.
- Documentation: Log wipe lot numbers, cleaning tasks, and results for compliance (e.g., GLP, ISO 17025). This aids traceability if contamination issues arise.
4. Key 禁忌 (Taboos) to Avoid
- Reusing Single-Use Wipes: Reused wipes shed trapped particles and lose anti-static efficacy.
- Ignoring Compatibility: Do not use solvent-based pre-wet wipes on soft plastics or uncoated optics—test compatibility first.
- Skipping Grounding: Ungrounded operators can transfer static to wipes, negating their anti-static benefits.
By following these procedures, anti-static cleanroom wipes effectively prevent ESD damage, reduce particle contamination, and maintain lab equipment reliability—critical for accurate experiments and compliance.