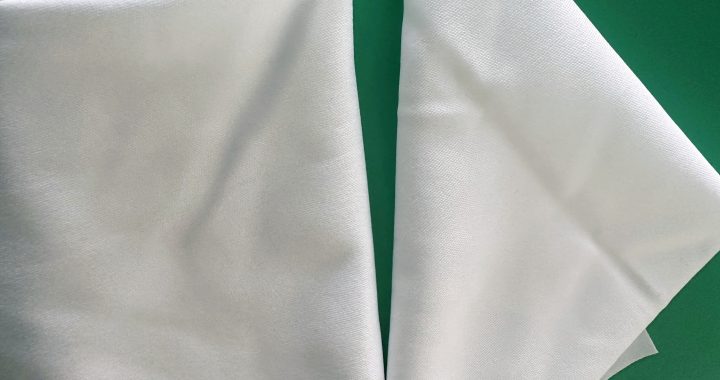
Semiconductor cleanrooms (ISO Class 1–5) demand ultra-pure cleaning to protect 3nm–7nm microchips from sub-micron contaminants, residue, and electrostatic discharge (ESD). Cleanroom wet wipes—pre-moistened with high-purity solvents (99.9% IPA, deionized water) or specialized cleaners—offer consistent, controlled cleaning that eliminates risks from manual solvent mixing. Below is their tailored application across critical semiconductor manufacturing stages.
1. Wafer Fabrication: Pre-Lithography and Post-Etch Cleaning
Wafers (silicon, gallium arsenide) are vulnerable to particle adhesion, organic residues (from handling), and etch byproducts—contaminants that ruin circuit patterns during lithography.
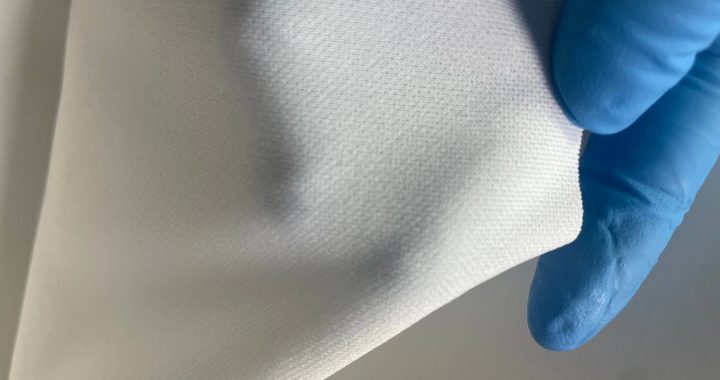
- Wipe Selection: Use 4”x4” pre-wet wipes with 99.9% electronic-grade IPA (metal impurities ≤10 ppb) and static-dissipative fibers (10⁶–10¹⁰ Ω). For photoresist residues, choose wipes with semiconductor-grade removers (e.g., NMP-based, low outgassing).
- Application:
- Clean wafer edges with folded wipe strips (1cm wide) in circular motions to avoid frontside contact.
- For backside cleaning, use radial strokes (center to edge) with light pressure (<0.5 psi) to prevent scratching thin films.
- Post-etch, wipe wafer chucks with deionized water-based wipes to remove etch residues (e.g., metal oxides) without damaging ceramic surfaces.
2. Photolithography Tools: Optics and Reticle Care
EUV scanners and lithography systems rely on pristine optics (lenses, mirrors) and reticles—even 0.1μm particles distort patterns, causing wafer scrap.
- Wipe Selection: Opt for ultra-fine microfiber wipes (0.1μm diameter) pre-wet with lens-grade IPA or deionized water (meets SEMI C12 standards for low outgassing).
- Application:
- Clean lenses with single linear strokes (not circular) to avoid particle spreading; follow with a dry high-density wipe to prevent streaks.
- Wipe reticle pods with anti-static pre-wet wipes before loading—removes dust that transfers to reticle patterns.
- Use mini (2”x2”) wipes for reticle edge cleaning (non-pattern areas) to dissolve handling oils without damaging photomasks.
3. Deposition and Etching Equipment: Chamber and Nozzle Maintenance
CVD/PVD chambers and etchers accumulate process residues (photoresist, metal deposits) on walls, gas nozzles, and wafer stages—contaminants that transfer to subsequent wafers.
- Wipe Selection: Use solvent-resistant polyester wipes (300+ gsm) pre-wet with acetone or IPA for chamber walls; deionized water-based wipes for quartz components (avoids degradation).
- Application:
- After plasma cleaning, wipe chamber walls in overlapping vertical strokes to target residue near gas inlets.
- Clean gas nozzles with thin wipe strips (guided by tweezers) to remove clogs that disrupt uniform deposition/etching.
- Wipe wafer stages (ceramic or aluminum) with anti-static pre-wet wipes to dissipate static and remove particle debris.
4. Packaging and Testing: Die and Lead Frame Cleaning
Post-dicing, dies and lead frames accumulate sawing debris, adhesive residues, and oxidation—contaminants that impair bonding or electrical conductivity.
- Wipe Selection: Use pre-wet wipes with mild flux removers (compatible with copper, gold) and lint-free fibers to avoid die contamination.
- Application:
- Dab die backside with a small wipe pad to remove adhesive smudges—avoid wiping (risks die displacement).
- Clean lead frame contacts with linear strokes to remove oxidation, ensuring strong wire bonds.
- Post-test, wipe test sockets with anti-static pre-wet wipes to remove contact residues that cause signal errors.
Critical Compliance & Advantages
- Purity: Wipes meet SEMI C30 standards (low metals, organics) to avoid wafer contamination.
- ESD Safety: Anti-static variants prevent charge buildup (≤100V), critical for 3nm–7nm devices.
- Efficiency: Pre-moistened format cuts cleaning time by 40% vs. manual solvent application, reducing downtime.
Cleanroom wet wipes are indispensable in semiconductor cleanrooms, ensuring consistent purity across