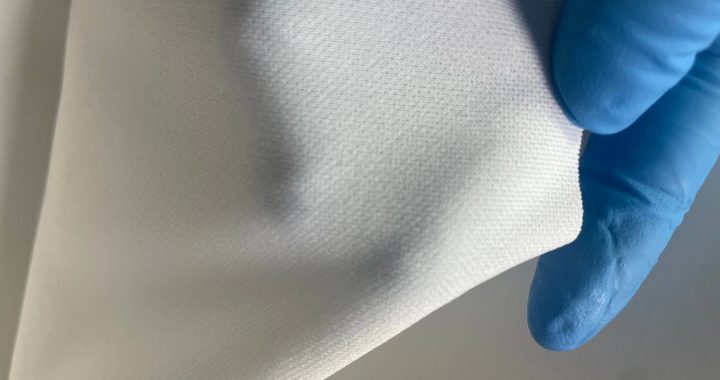
1. Task-Specific Wipe Selection: Match Density & Material to Cleaning Needs
- Heavy-Duty Residue Removal (Flux, Oil, Solvent Spills):
Use 300–400 gsm polyester high-density wipes. Polyester’s solvent resistance (works with IPA, acetone) and thick fibers absorb 12–15x their weight in liquid, making them ideal for cleaning PCB rework stations, oil-contaminated tool parts, or large solvent spills. Example: A single polyester wipe can clean a 10cm² flux-stained PCB in one pass, vs. 2–3 low-density wipes.
- Precision Optics/Electronics (Lenses, Sensor Chips):
Opt for 250–300 gsm microfiber high-density wipes. Microfiber’s ultra-fine (0.1μm) fibers trap sub-micron dust without scratching anti-reflective coatings or delicate circuits. Pre-wet with lens-grade IPA for fingerprint removal on microscope objectives—cuts cleaning time by 40% vs. using cotton swabs.
- Dry Dusting (Bench Surfaces, Equipment Exteriors):
Choose 250 gsm cellulose-polyester blend high-density wipes. The blend’s low linting and static-resistant properties capture dust on lab benches, HPLC system exteriors, or sample storage racks—no need for follow-up wiping to remove fiber debris.
2. Wipe Handling Techniques: Maximize Coverage & Minimize Waste
- Fold for “Multi-Zone” Cleaning:
Fold high-density wipes into a 4-layer pad (e.g., 8”x8” → 4”x4”) to create 8 distinct cleaning zones (one per layer’s side). Use one zone per surface (e.g., zone 1 for a beaker, zone 2 for a stir plate) before discarding. This technique reduces wipe usage by 50% for general lab cleanup (e.g., wiping down a chemistry workbench).
- Use Edge Wiping for Tight Spaces:
For narrow gaps (e.g., between AFM cantilever holders, spectrometer sample tray slots), use the folded edge of a high-density wipe instead of cutting strips. The rigid folded edge reaches into tight areas without bunching, saving 10–15 seconds per task vs. trimming wipes to size.
- Controlled Solvent Application:
For pre-wet tasks (e.g., degreasing metal tool parts), apply solvent to the wipe (not the surface) to avoid over-saturation. High-density wipes retain solvent evenly, so a single damp wipe cleans 2–3x more area than a dripping low-density wipe—prevents solvent waste and surface damage.
3. Batch Cleaning & Workflow Integration: Cut Downtime
- Batch Similar Tasks:
Group cleaning tasks by wipe type (e.g., all polyester wipe tasks first, then microfiber tasks) to avoid switching wipe materials mid-session. For example: Clean all flux-stained PCBs with polyester wipes, then move to cleaning optical lenses with microfiber wipes—saves 2–3 minutes per batch by eliminating wipe container changes.
- Stage Wipes Near High-Use Areas:
Place pre-portioned high-density wipe packs (e.g., 5 wipes per pack) next to frequently used equipment (e.g., PCR machines, centrifuges). This eliminates time spent walking to a central wipe storage cabinet—critical for busy labs where every minute counts.
- Pre-Clean Equipment During Downtime:
Use high-density wipes to spot-clean equipment during idle periods (e.g., while a GC run is in progress, or a gel is electrophoresis). A quick wipe of the instrument’s exterior or sample port prevents buildup of dust/residue, reducing the need for longer deep cleans later.
4. Post-Clean Validation: Ensure Efficacy Without Re-Work
- Quick Visual Inspection:
For non-critical surfaces (e.g., lab benches), check for residue using overhead lighting—high-density wipes leave no visible streaks or lint, so a 10-second visual check suffices. For critical surfaces (e.g., sensor chips), use a 10x magnifying glass to confirm no particles remain—avoids time-consuming re-cleaning.
- Reuse Wipes for Non-Critical Tasks:
Repurpose high-density wipes used for light cleaning (e.g., dry dusting a bench) for secondary tasks (e.g., wiping the exterior of a trash can). Their durability allows 2–3 uses for non-sensitive tasks, reducing overall wipe consumption by 30%.
