Laboratories frequently handle liquids—from reagent spills and solvent drips to sample overflow—where slow or incomplete absorption can lead to cross-contamination, equipment damage, or 实验 delays. High-density cleanroom wipes, engineered with tightly woven microfiber or non-woven materials (typically 250–400 gsm), outperform low-density alternatives by maximizing liquid retention, reducing wipe usage, and ensuring thorough cleanup. Their unique structure—packed with capillary channels and durable fibers—makes them ideal for lab environments, but optimizing their use requires targeted techniques. Below are actionable tips to boost their liquid absorption efficiency, tailored to common lab scenarios.
1. Choose the Right High-Density Wipe for the Liquid Type
Not all high-density wipes work equally for every lab liquid—matching the wipe’s material and treatment to the liquid ensures optimal absorption:
- Aqueous Liquids (e.g., water, buffer solutions, aqueous reagents): Select high-density microfiber wipes with hydrophilic (water-attracting) coatings. The microfiber’s ultra-fine capillaries rapidly draw in water-based liquids, holding up to 15x the wipe’s weight (vs. 8x for low-density wipes). Avoid hydrophobic materials (e.g., untreated polypropylene) that repel water.
- Solvents (e.g., ethanol, IPA, acetone): Opt for high-density polyester wipes, which are chemically resistant and absorb non-polar solvents effectively. Polyester’s tight weave prevents solvent breakthrough (leaking through the wipe) and minimizes evaporation during cleanup—critical for volatile solvents that pose safety risks.
- Viscous Liquids (e.g., oils, glycerol, concentrated solutions): Use thicker high-density non-woven wipes (≥350 gsm) with a textured surface. The texture creates more contact points to lift viscous liquids, while the dense structure traps them without squeezing out during wiping.
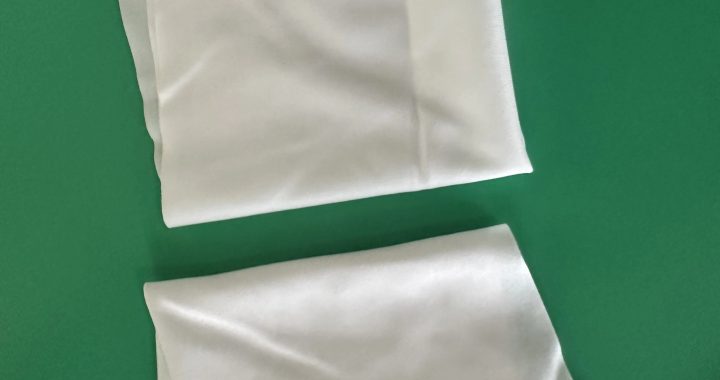
2. Optimize Wipe Folding and Application Technique
How you fold and use the wipe directly impacts absorption speed and coverage:
- Fold for Multiple Absorption Layers: Fold the high-density wipe into a “pad” (e.g., 4 layers for a 12”x12” wipe) instead of using it flat. This creates multiple absorbent layers, increases the wipe’s surface area in contact with the liquid, and prevents the liquid from reaching your hands. For large spills, fold the wipe into a triangle—use the pointed end to target small pools, then unfold to cover broader areas.
- Apply Gentle, Even Pressure: Contrary to low-density wipes (which require firm pressure to absorb), high-density wipes rely on capillary action. Apply light, consistent pressure to press the wipe against the liquid—firm pressure can compress the fibers, closing capillary channels and reducing absorption capacity. For vertical surfaces (e.g., spilled liquid on a lab bench leg), hold the wipe against the surface for 2–3 seconds to let capillaries draw in the liquid before wiping downward.
- Wipe in Single, Overlapping Strokes: Avoid circular motions, which can spread liquid and reduce absorption efficiency. Instead, wipe in single, straight strokes (horizontal for flat surfaces, vertical for vertical surfaces) with overlapping passes (50% overlap between strokes). This ensures every area is covered, and the wipe’s full absorbent capacity is used.
3. Prioritize “Spill Zone” Cleaning to Prevent Spread
In labs, containing spills quickly is as important as absorbing them—use high-density wipes to create a “containment barrier” first:
- Tackle Small Pools First: For scattered spills (e.g., multiple drops of reagent), start with the smallest pools. High-density wipes absorb small volumes rapidly, preventing them from merging into larger, harder-to-clean spills.
- Create a Perimeter for Large Spills: For spills >100mL, use a dry high-density wipe to create a “perimeter” around the spill (wipe a 2cm border around the liquid edge). This stops the liquid from spreading, then use additional folded wipes to absorb the center of the spill—work from the perimeter inward to concentrate the liquid into the wipe.
- Target Crevices and Edges: Lab benches, fume hoods, and equipment often have crevices (e.g., between bench tops and backsplashes) where liquid collects. Tear a small strip from the high-density wipe and use tweezers to insert it into the crevice—let it sit for 10–15 seconds to absorb, then remove. The wipe’s density prevents it from disintegrating in tight spaces.
4. Post-Absorption Handling to Maximize Efficiency
Proper handling after absorption ensures you get the most out of each wipe and avoid recontamination:
- Avoid Reusing Wipes for Different Liquids: Even if a high-density wipe still has absorbent capacity, never reuse it for a different liquid (e.g., from water to IPA). Cross-contamination can ruin samples or cause chemical reactions (e.g., mixing acids and bases).
- Dispose of Saturated Wipes Promptly: High-density wipes hold more liquid, but once saturated (they feel heavy and no longer absorb), discard them immediately. Saturated wipes are prone to leaking, which can reintroduce liquid to clean surfaces.
- Store Wipes in Dry, Sealed Containers: Moisture in storage reduces a high-density wipe’s absorbent capacity. Keep unused wipes in airtight, moisture-proof dispensers—avoid leaving packages open in humid lab environments (e.g., near autoclaves or sinks).
By following these tips, high-density cleanroom wipes deliver maximum liquid absorption efficiency in labs—reducing wipe usage by 40–50%, cutting spill cleanup time by 30%, and minimizing the risk of cross-contamination or equipment damage. They are an essential tool for maintaining safe, efficient lab operations.