Zebra printer cleaning card

Cleaning Card Cleaning ZC Series Printers

Regular cleaning is essential to ensure the proper functioning and printing quality of ZC series printers. Here are the steps to clean ZC series printers:

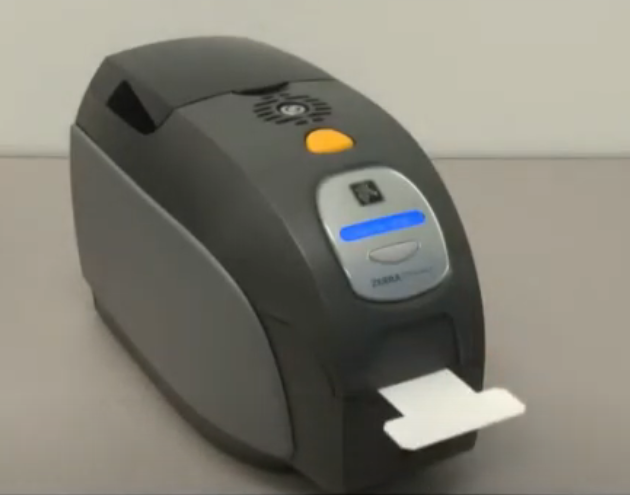
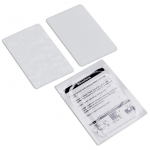
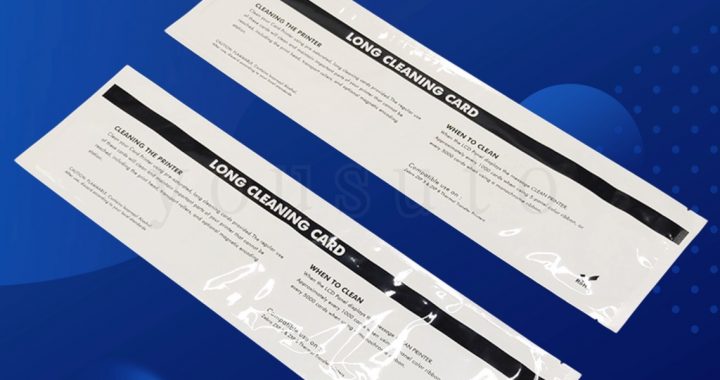
  1. Prepare the cleaning card: Obtain a cleaning card that is compatible with ZC series printers.

  2. Power off the printer: Before starting the cleaning process, make sure the printer is powered off. This ensures your safety and prevents any accidents.

  3. Use the cleaning card: Insert the cleaning card into the printer’s feed slot and follow the instructions provided in the printer’s manual. Typically, you will need to press the print button to allow the cleaning card to pass through the printer.

  4. Clean the print head: If your ZC series printer has a removable print head, you can take it off and gently clean it using an appropriate cleaning solution. Make sure to follow the printer manufacturer’s cleaning guidelines and use the recommended cleaning tools and methods.

  5. Clean the card slot and rollers: Use a clean cloth or cotton swab to gently wipe the printer’s card slot and rollers. Remove any dust, paper debris, or residue to ensure smooth paper feeding and printing.

  6. Clean the exterior: Use a soft cloth to gently wipe the printer’s exterior, removing dust and fingerprints.

  7. Check print quality: After completing the cleaning process, run a test print to ensure that the printing quality is normal.

Note that the cleaning frequency depends on the printer’s usage and environmental conditions. If the print quality deteriorates or other issues arise, it is recommended to perform cleaning promptly. Additionally, make sure to follow the cleaning guidelines and recommendations provided by the printer manufacturer for the best cleaning results and printing outcomes.

lf you still have questions about cleaning your Datacard ID card printer, just call oneof our friendly, knowledgeable ID Professionals at (+86)0769-82388137. We’re here to help!

How to use CR80 printer  cleaning card

Using a CR80  printer  cleaning card properly is essential to ensure effective cleaning and prevent any damage to your printer. Here’s a step-by-step guide on how to use a cleaning card correctly:

  1. Read the Instructions: Before starting, carefully read the instructions provided with the cleaning card. Different printers may have specific requirements or variations in the cleaning process.

  2. Power off the Printer: Ensure that your printer is powered off and unplugged from the power source. This is important for safety and to avoid any electrical issues during the cleaning process.

  3. Locate the Printer’s Paper Path: Identify the paper path or the area where the cleaning card needs to be inserted. It is usually located near the paper tray or inside the printer where the paper feeds.

  4. Prepare the Cleaning Card: Take the cleaning card out of its packaging and inspect it for any visible damage or contaminants. Ensure that you are using the correct type of cleaning card compatible with your printer model.

  5. Insert the Cleaning Card: Carefully insert the cleaning card into the printer’s paper path, following the arrow or guide marks on the card. Make sure it goes in smoothly and aligns properly with the paper path.

  6. Start the Cleaning Cycle: Close the printer’s cover or any access panels, as per the manufacturer’s instructions. Power on the printer and initiate the cleaning cycle through the printer’s control panel or software. Refer to your printer’s user manual if you are unsure about the specific steps to start the cleaning cycle.

  7. Allow the Cleaning Process to Complete: Let the cleaning cycle run its course. This usually involves the printer pulling the cleaning card through the paper path, cleaning the printhead, rollers, and other components. It may take a few minutes to complete.

  8. Remove the Cleaning Card: Once the cleaning cycle is finished, the printer will eject the cleaning card. Carefully remove the cleaning card from the paper path, taking care not to touch the cleaned surface.

  9. Store the Cleaning Card (Optional): If the cleaning card is reusable, you can store it in a clean, dry place for future use. Follow the manufacturer’s instructions on how to properly store and handle the cleaning card.

  10. Power on the Printer: After removing the cleaning card, power on the printer and allow it to go through its startup process. Verify that everything is functioning correctly and proceed with regular printing tasks.


Remember, it’s crucial to follow the specific instructions provided by your printer’s manufacturer for using the cleaning card. If you have any doubts or concerns, refer to the printer’s user manual or contact the manufacturer’s support for assistance.

lf you still have questions about cleaning your Datacard ID card printer, just call oneof our friendly, knowledgeable ID Professionals at (+86)0769-82388137. We’re here to help!